Real-life work has dampened my ability to post often, plus, as I think I've mentioned before, Blogger's stupid interface has dampened my enthusiasm to load picture-heavy posts. But anyway, here's my Saturday afternoon battle from Hotlead back in March. It was a 1/600 ACW river action, four Union ships vs. three damn Rebel ships and three shore batteries.
The battle started with the Union fleet set up in the middle of the stretch of river, not knowing which (or both) ends of the river the Rebs would show up in, nor knowing where the shore batteries were. So we (Union) started in the naval equivalent of a square, facing off every which way. Turns out (lesson learned) that doesn't really work for ships. Once we started peeling off to engage the Rebels, we were a bit disorganized for a while - it was sort of like that fire drill you aren't allowed to mention in polite company any more. I won't mentioned that I accidently rammed a fellow Union ship in the process - luckily it was bigger and ironclad, so I didn't do any serious damage.
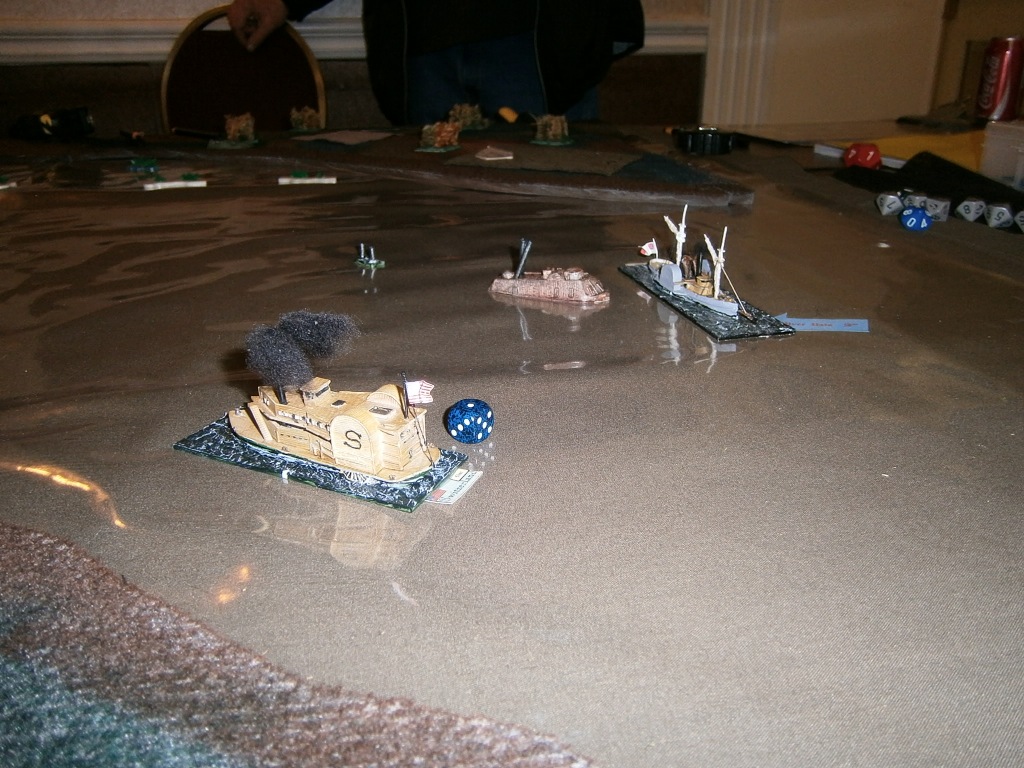
So here's the Union at game start:
I'm the
USS Switzerland (the "all brown" ship), we also had the
Benton (my ironclad friend), the
General Price, and one other ship I can't remember - but it was the "one that sank".
Once we got sorted out, I started heading upriver, only to find the
CSS Webb, with a lovely spar torpedo on its bow, aiming for me. The game ("Steam and Sail", I think) is broken into two movement phases (part of the reason I rammed the
Benton was because I hadn't quite figured that out), so with the initiative, I begged our CinC to go first so I could dodge the danger.
I did escape the
Webb, and then found on the second movement phase that I had a lovely shot at the
CSS Indianola, and I took it! She sank like a rock (I rolled a crazy number of criticals) and I was the hero of the moment.
Here's the fast-sinking wreck of the
Indianola, and me stuck (and gloating) beside her, with zero movement.
And now the
Webb is coming back for me, angry over missing me the first time, angrier for me having sunk the
Indianola, and not sated after sinking a Union ship along the way (the "can't remember").
Luckily the
Webb was also slowed by sinking a ship, so I was able to get my speed back up and started roaring around in circles to avoid her, while looking for another target - the rest of the action had been going on downstream, where a Union and Rebel ram had been taking potshots at each other. The Rebel ship had also been avoiding our slow but deadly
Benton as well. The Rebel shore batteries were taking pot-shots whenever they could.
Our other ram, the
General Price, finally got to nail the
CSS Queen of the West, but wasn't able to sink her - and you can see the Webb lurking and waiting to get its shot in.
And so after the
Price rams the
Queen, and gets turned sideways, in comes the
Webb with another spar torpedo!
But the
Webb misses! The torpedo doesn't hit and the
Webb glances off the
Price.
After some more maneuvering, the badly damaged
Queen of the West gets nailed again by the
Price, and finally sinks. At this time the game gets called - the Rebels were down to one ship, we had three (two of us in good shape).
One more shot of the game at the end:
This was a fun game, the rules were relatively easy to pick up, and we were helped a lot by our host, Glen B. I'm not sure I'd use the rules for my own ACW gaming, as I have a couple sets I think will work, and these ones were heavy on damage tracking, but for real rivet-heads, they'd be the cat's meow.
As a result, I promptly spent about another $300 on 1/1200 ACW ships to add to my collection, although I'm sure it will be 2019 before I get to painting them!